04. Section 2: Training a Segmentation CNN
Section 2: Training a segmentation CNN
You will perform this in the following section Workspace for Section 2. This workspace will have the same environment as Workspace for Section 1 and will have everything that you need to train the machine learning model for segmentation.
In the directory called section2/src you will find the source code that forms the framework for your machine learning pipeline.
You will be using PyTorch to train the model, similar to exercises in the Segmentation & Classification Lesson, and we will be using Tensorboard to visualize the results.
You will use the script run_ml_pipeline.py to kick off your training pipeline. You can do so right now! The script will not get far, though. It only contains the skeleton of the final solution and a lot of comments. You will need to follow the instructions inside the code files to complete the section and train your model. Same convention is used as in Section 1:
- Comments that start with
# TASKare tasks, instructions, or questions you have to complete - All other types of comments provide additional background, questions or contain suggestions to make your project stand out.
You will need to complete all the instructional comments in the code in order to complete this section. You can do this in any order, but it makes most sense to start with the code in run_ml_pipeline.py.
The code has hooks to log progress to Tensorboard. In order to see the Tensorboard output you need to launch Tensorboard executable from the same directory where run_ml_pipeline.py is located using the following command:
tensorboard --logdir runs --bind_all
After that, Tensorboard will write logs into directory called runs and you will be able to view progress by opening the browser and navigating to default port 6006 of the machine where you are running it.
Instructions
Once you complete this section, copy the following to the directory section2/out:
- Functional code that trains the segmentation model
- Test report with Dice scores on test set (can be json file). Your final average Dice with the default model should be around .90
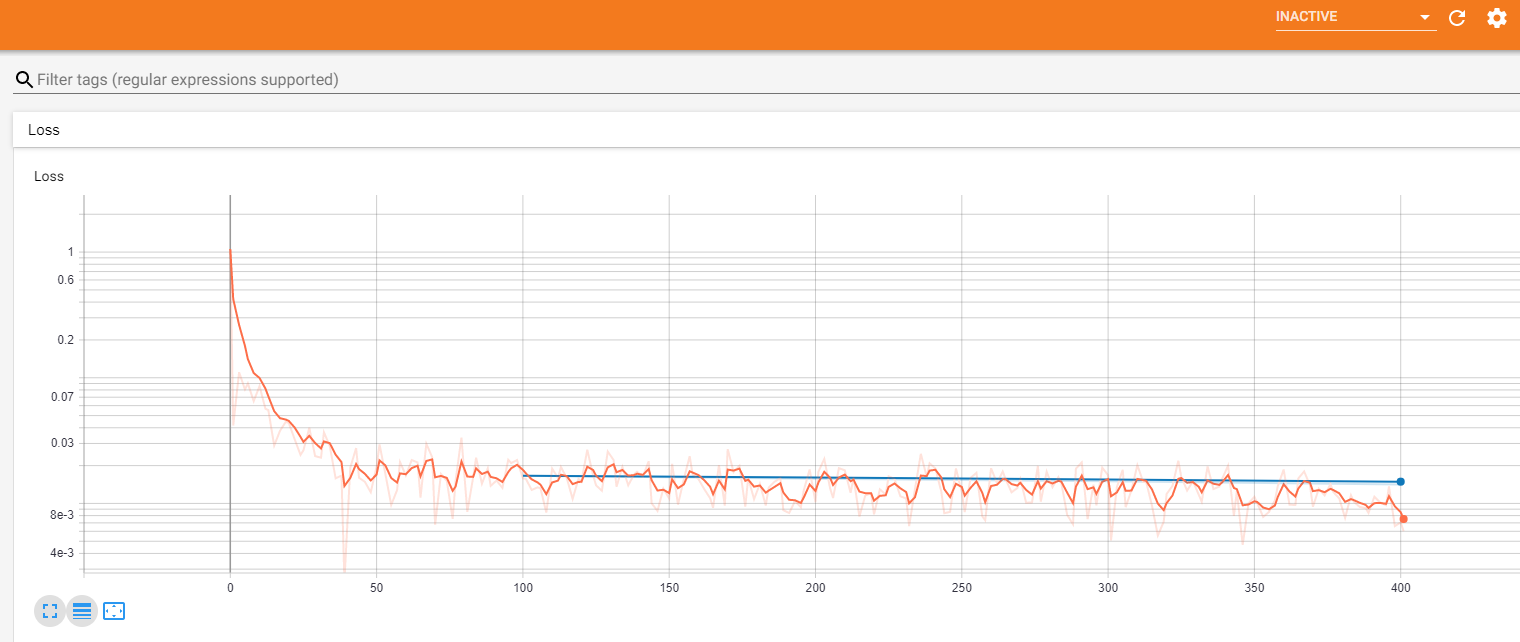
- Screenshots from your Tensorboard (or other visualization engine) output, showing Train and Validation loss plots, along with images of the predictions that your model is making at different stages of training
- Your trained model PyTorch parameter file (model.pth)
Stand-out Suggestions
Optionally, you can look into the following to make your project stand out. Put the deliverables in the output directory.
- Can you write a 1-page email explaining what your algorithm is doing to a clinician who will be trying it out, but whom you never met? Make sure you include performance characteristics with some images. Try using their language and think of what would be the important information that they are looking for?
- Implement additional metrics in the test report such as Jaccard score, sensitivity or specificity. Think of what additional metrics would be relevant.
- In our dataset we have labels of 2 classes - anterior and posterior segments of the hippocampus. Can you train a version of model that segments the structure as a whole, only using one class? Is the performance better, the same or worse?
- Write up a short report explaining requirements for your training process (compute, memory) and suggestions for making it more efficient (model architecture, data pipeline, loss functions, data augmentation). What kind of data augmentations would NOT add value?
- What are best and worst performing volumes? Why do you think that's the case?
Udacity Workspace Notes
Always run the workspace with GPU on to be in the correct environment. This will also let you access the Desktop when you hit the button at the bottom right-hand corner.
NOTE The workspace can time out while you are running your training job if you do not work with the workspace for 2 - 5 minutes. If you find that your training process taking longer than that, either reduce the number of epochs or run any command in the terminal, like ls to keep the workspace active.
Upload the dataset
- Click on the + at the upper right hand corner of the folder panel in the workspace.
- Select Upload File to upload the zipped dataset.
- Run the command
tar xf <filename>to unzip the dataset.
Download the Trained Model/Code
- Navigate to the location of the model parameter file
model.pthyou want to download in the folder panel. - Right click the file in the folder panel on the left side of the workspace.
- Select Download.`
View Slicer
When you enter the Desktop you should find a Slicer icon on the left-hand column. If you double click on that it should start-up Slicer.
Tensorboard
- Make sure you enable GPU.
- In a terminal move to the src directory through
cd src - Then run the following command to start tensorboard
tensorboard --logdir runs --bind_all - The output should have a URL
- Copy that URL
- Open the Desktop with the Desktop button at the bottom right hand corner and copy the URL. (It will look something like
http://f8196ac7f2cc:6006/) - If not already open, open a browser.
- On the left hand side there will be an arrow, if you click the arrow, a sidebar that will popup.
- Click on the 2nd icon on the sidebar which is a clipboard and paste the URL here.
- In the address bar you can right click and select Paste & Go.